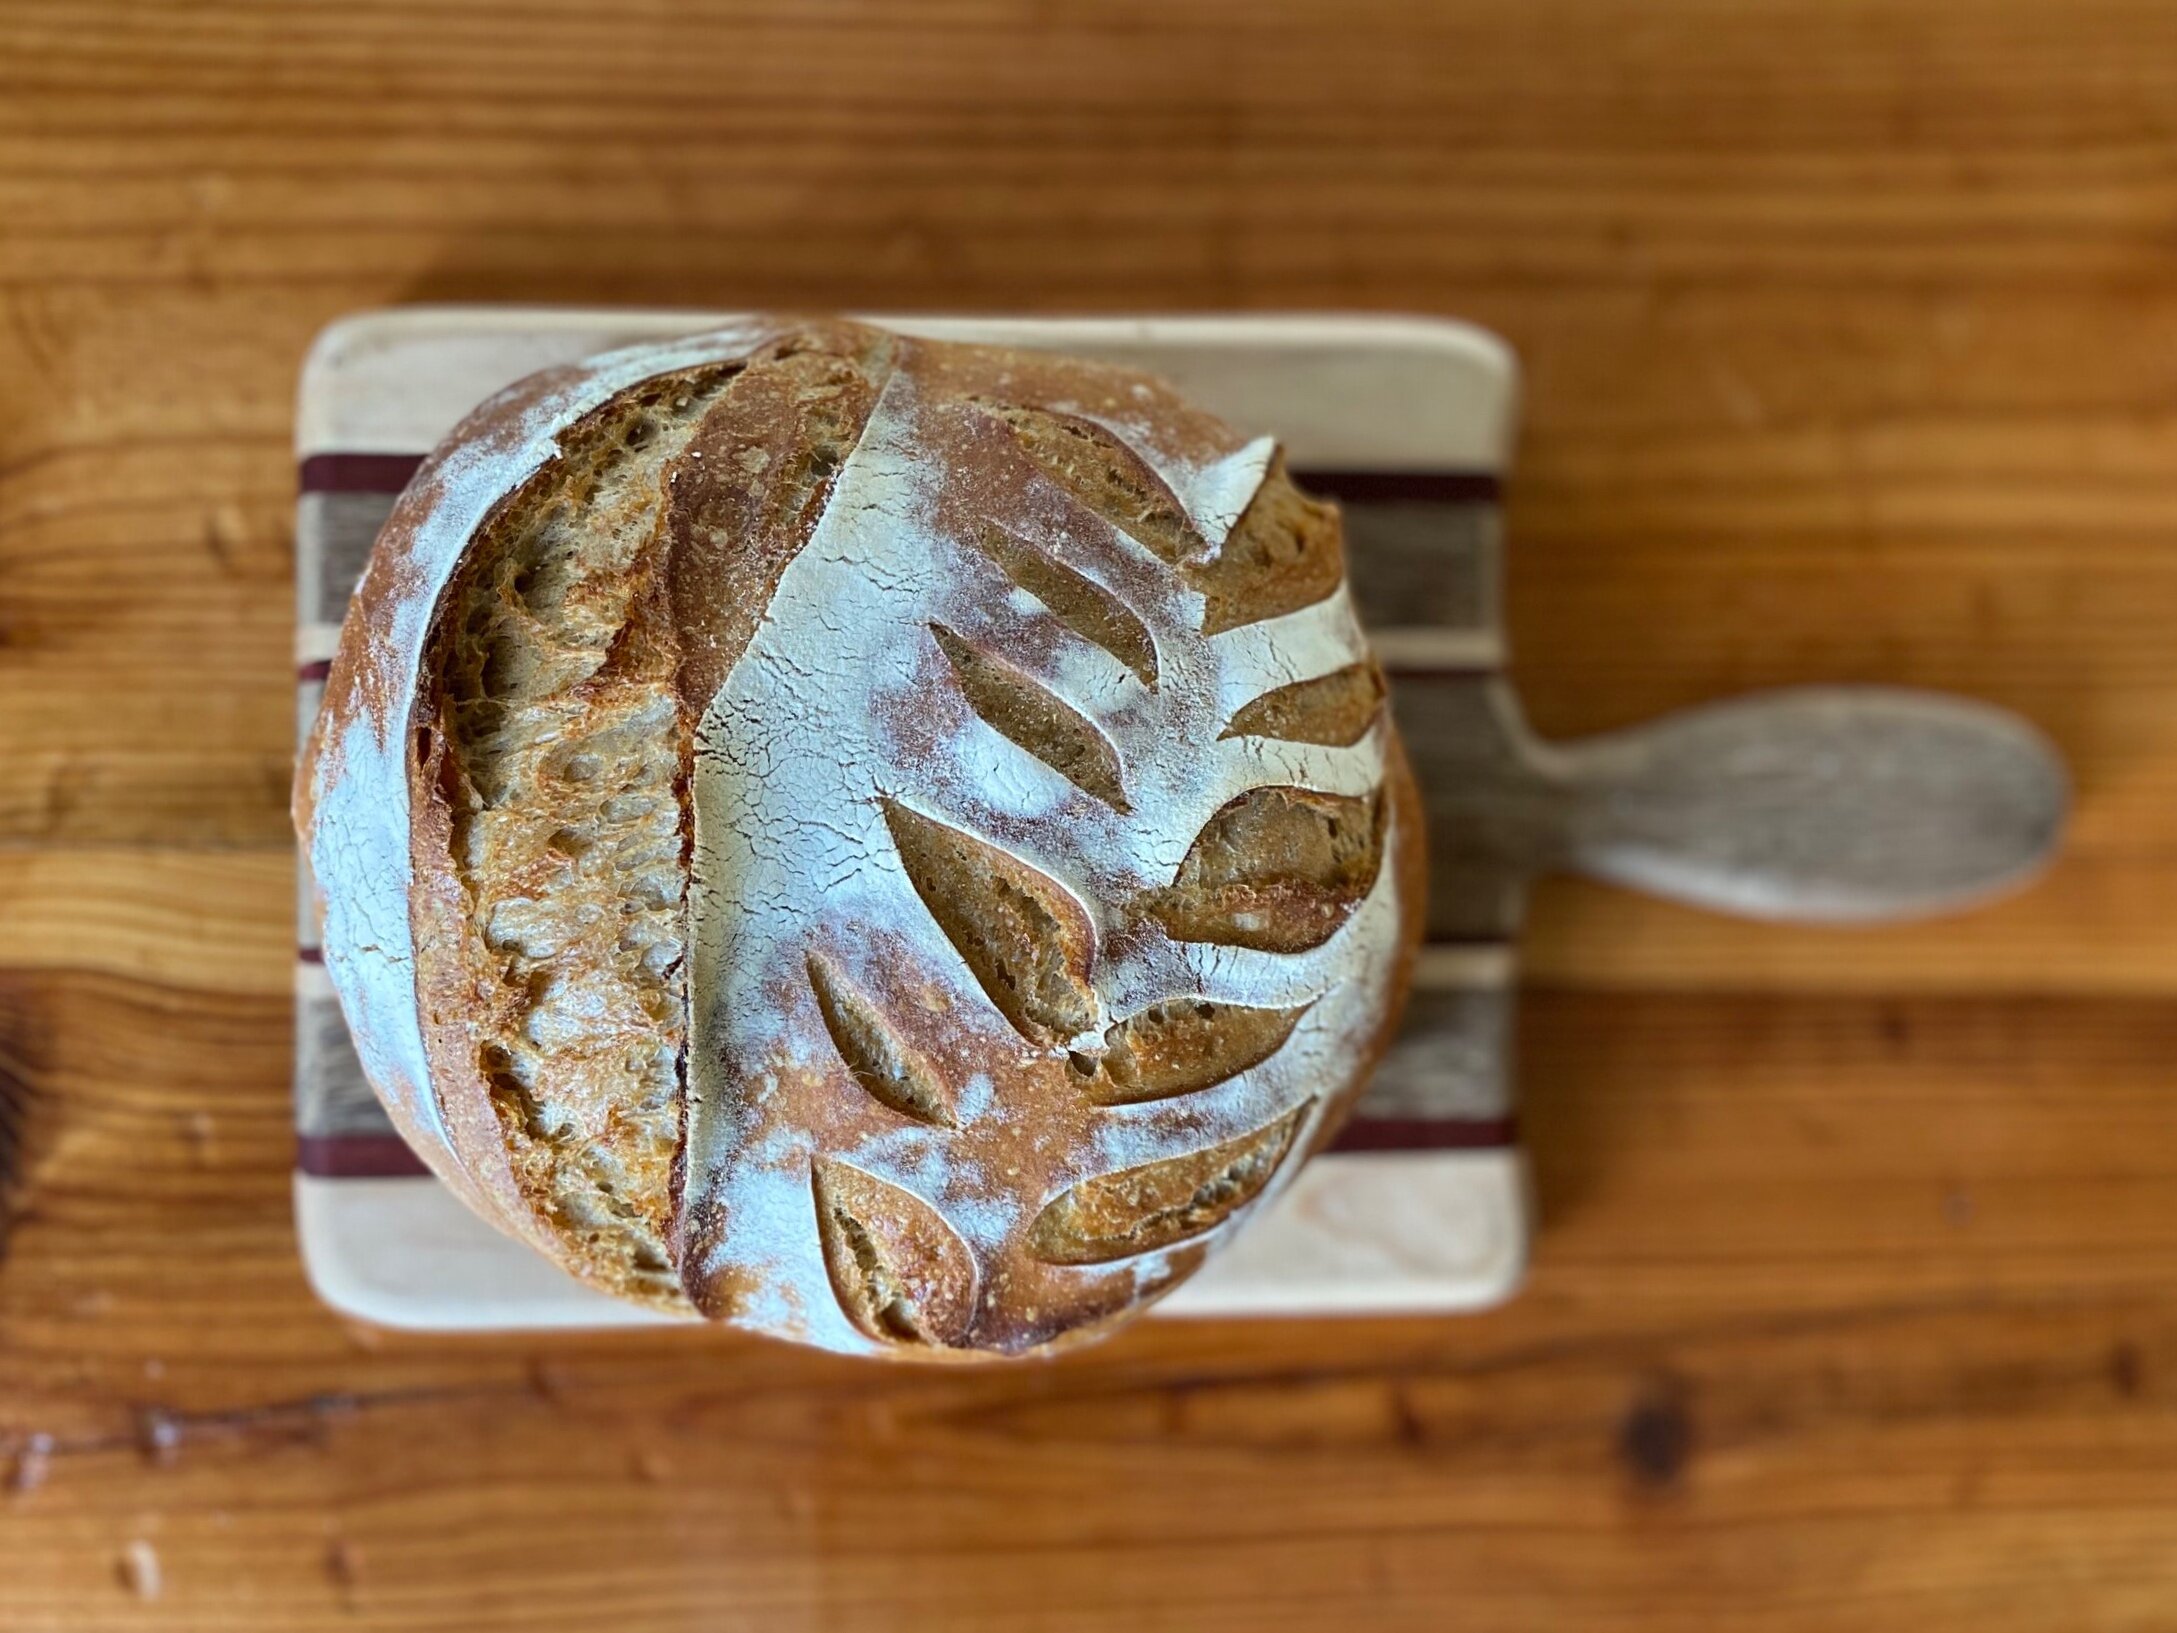
Rustic Sourdough Loaf
Written by Anneke Toliver
Learning about the art of sourdough has been a fun process. I didn't get it right off the bat; it took me a few tries and a lot of reading and many troubleshooting conversations with my sister-in-law who already had it down. Being able to transform flour, water, and salt into beautiful loaves still makes me feel a little bit superhuman, but it’s really not as complicated as I thought. And once you understand how a starter works, there’s a lot of room to play and experiment.
If you’re new to sourdough, this sourdough starter post may be helpful to you. If you’re a Dive Collective member, check out our Collective Workshop: Sourdough Basics, for some video tutorials and more recipes. Or use your leftover discard to make our Sourdough Discard Waffles.
Rustic Sourdough Loaf
This is a super basic loaf, using fed starter rather than levain, and a simple fermentation process.
Mix up in the evening and bake in the morning or mix in the morning and bake for dinner. Or slow ferment in the fridge to buy more time.
Recipe:
300 grams fed starter
600 grams + 2 tablespoons water
850-950 grams flour
19 grams salt
In your mixing bowl on your scale, measure out 300 grams of fed, bubbly starter and 600 grams of water. (One way to test whether your starter is ready is to see if it floats in the water.) Mix together and add flour (start with 850 grams and add more as needed).
Dough will be shaggy. Set aside for 30 minutes to allow water to absorb flour.
After 30 minutes, sprinkle 19 grams of salt and 2 tablespoons of water over the dough. Use the dough scraper to scrape down the sides of the bowl and get the salt water under the edges of the dough. Mix the salt in with your hands and form into a ball. Let rest for 30 minutes.
After 30 minutes, do a series of stretch and folds: every 30 minutes, 3 times. (30 minutes is fluid; times frame can be 20-60 minutes between stretch and folds. It’s a very forgiving recipe.)
Either: leave in bowl to proof or divide into 2 loaves, shape, and place in towel-lined bannetons dusted with flour.
Proofing methods:
Room Temperature: leave on counter for 8-10 hours at room temperature until doubled in size.
Cold proof: placed dough in fridge for 12-24 hours. Pull out and leave at room temperature 2 hours.
Place dutch oven(s) in oven and preheat to 500 degrees for 30 minutes.
If using bannetons: turn loaves out onto parchment paper. use your bread lame or a sharp knife to score the top. Once the oven has preheated, place loaves in covered dutch ovens, turn oven down to 450 degrees, and bake for 35 minutes. After 35 minutes, check for color; if they haven’t started to brown, you may bake for 5-10 more minutes.
If you didn’t use bannetons and your dough is still in one big lump, turn out onto a floured counter and divide in half. Shape loaves and place on parchment paper. Score tops. Once the oven has preheated, place loaves in covered dutch ovens, turn oven down to 450 degrees, and bake for 35 minutes. After 35 minutes, check for color; if they haven’t started to brown, you may bake for 5-10 more minutes.
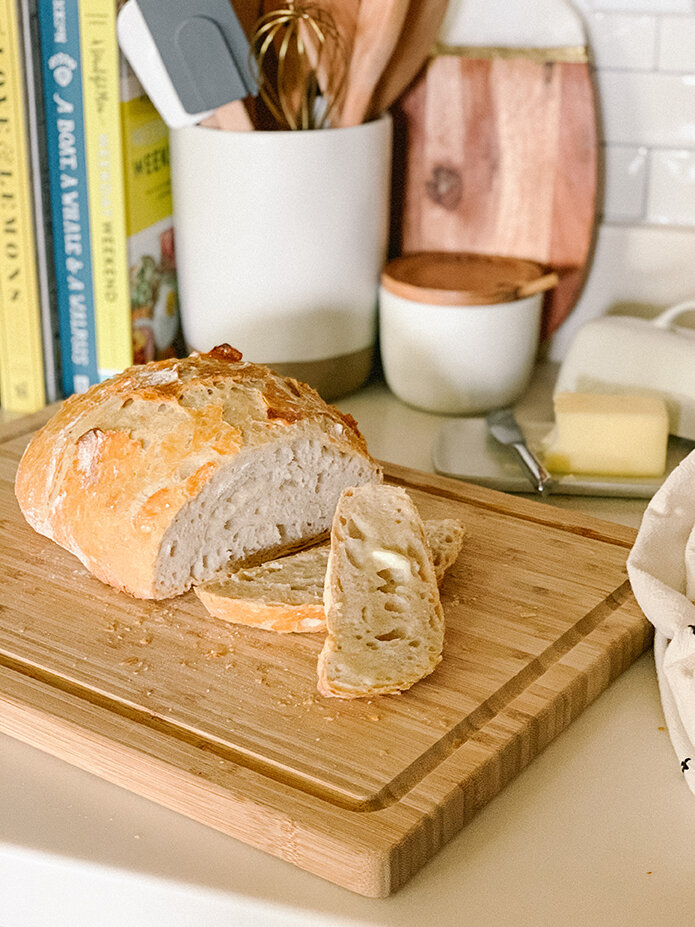
Cool on a wire rack at least 20 minutes before slicing.
Tips
Let cool at least 30 minutes before slicing (unless you can’t wait; then just slice off a tiny corner).
The lidded pot traps the steam inside, which creates the beautiful crust. If you don’t have any way to cover the bread as it bakes to trap the steam, you can put a cookie sheet on the bottom rack of your oven and fill it with boiling water just before you put your loaf in the oven.
Since temperatures vary, time isn’t always the best determiner for whether or not your dough has proofed. Here are a few ways to tell that your dough is ready to bake:
It has at least doubled in size.
The texture of the dough has changed: it’s puffy and you can see some bubbles.
The poke test: Under-proofed dough will bounce back quickly when you poke it—that means it needs some more time. Over-proofed dough will stay where it is—you’ll want to bake this right away (and it likely won’t expand as much in the oven) or give it a few stretch and folds to revive it a bit and then bake. Dough that is ready will pop back out slowly, and leave a small indentation where you poked it.
Kitchen Essentials: Sourdough Edition
Here are some of my sourdough essentials—I use these tools just about anytime I bake anything sourdough.
I often use my Pampered Chef Batter Bowl. This one is basically the same. It’s easy to track your rise.
My favorite spatula for stirring and scraping is the red one from this set. Solid silicone so it’s really easy to clean.
A Dutch Oven is essential to any kitchen, whether you bake bread or not. This will bake delicious bread and add more flavor to any soup or stew or sauce you choose to throw at it.


While I’m a total sucker for warm, sunny skies, I do love curling up by the fire with a hot cup of something and a good book, and I’ll take advantage of any excuse to spend my day in leggings and a hoodie. (Notice the constant presence of some sort of heat source?) But I have to say, winter’s biggest saving grace is the food. Soups, stews, fresh baked bread. Ultimate comfort food—which is pretty important when we’re freezing our tushies off.